Showing posts with label TKBTrading. Show all posts

Thursday, May 30, 2013

Pressing Mineral Eye Shadows - Part II

Disclaimer: There is nothing to report.

I'm finally back with Part II to actually show you how to press your mineral eye shadows. If you missed Part I, you can find it here. Also please don't forget to enter my giveaway!

My information is a combination of information I've picked up on the internet. One of my favorite videos on how to press was made my a friend of mine from Mineral Makeup Forum (it's a private board, so you have to register to view the whole thing). Her name is Oxana, and you can find her video about pressing shadows here (she also has a blog that you can find here). I also made sure to read TKBTrading's information about pressing shadows that came with their starter kit.

Let's get started pressing!

The first thing to do is gather all of your materials and get your pressing station set up. This can be a messy and time-consuming process, so plan accordingly. I like to cover my work area with paper towels because it makes cleanup that much easier when I'm done.

The first thing I do is lay out several pans and spray them down with alcohol to sanitize them before I start, and I let them dry (it doesn't take long).

Side note: Please excuse the picture quality. Since I wasn't using my normal setup, the colors are really off. I didn't feel the need to try and retake them since I'm not trying to show the colors, just the process.


 After the pans I dry, I take one and place a drop of MyMix on the bottom of the pan and spread it around with a cotton swab. I believe this step is done to help the shadow stick to the bottom of the pan.

MyMix in shadow - about 4 drops
The next step is to open up your mineral shadow and add the MyMix (or your choice of mixing medium). I typically use about 4 drops for a 5g jar of shadow. That being said, this is the trickiest part of the process. If you use too much MyMix, your eye shadow will be too hard and won't have any color payoff, and there is also no way to remove MyMix once it is in the shadow. When in doubt, use less. If your shadow ends up too powdery, you can always remix it with more MyMix and repress it. It is also important to note that matte shadows require a lot less MyMix.

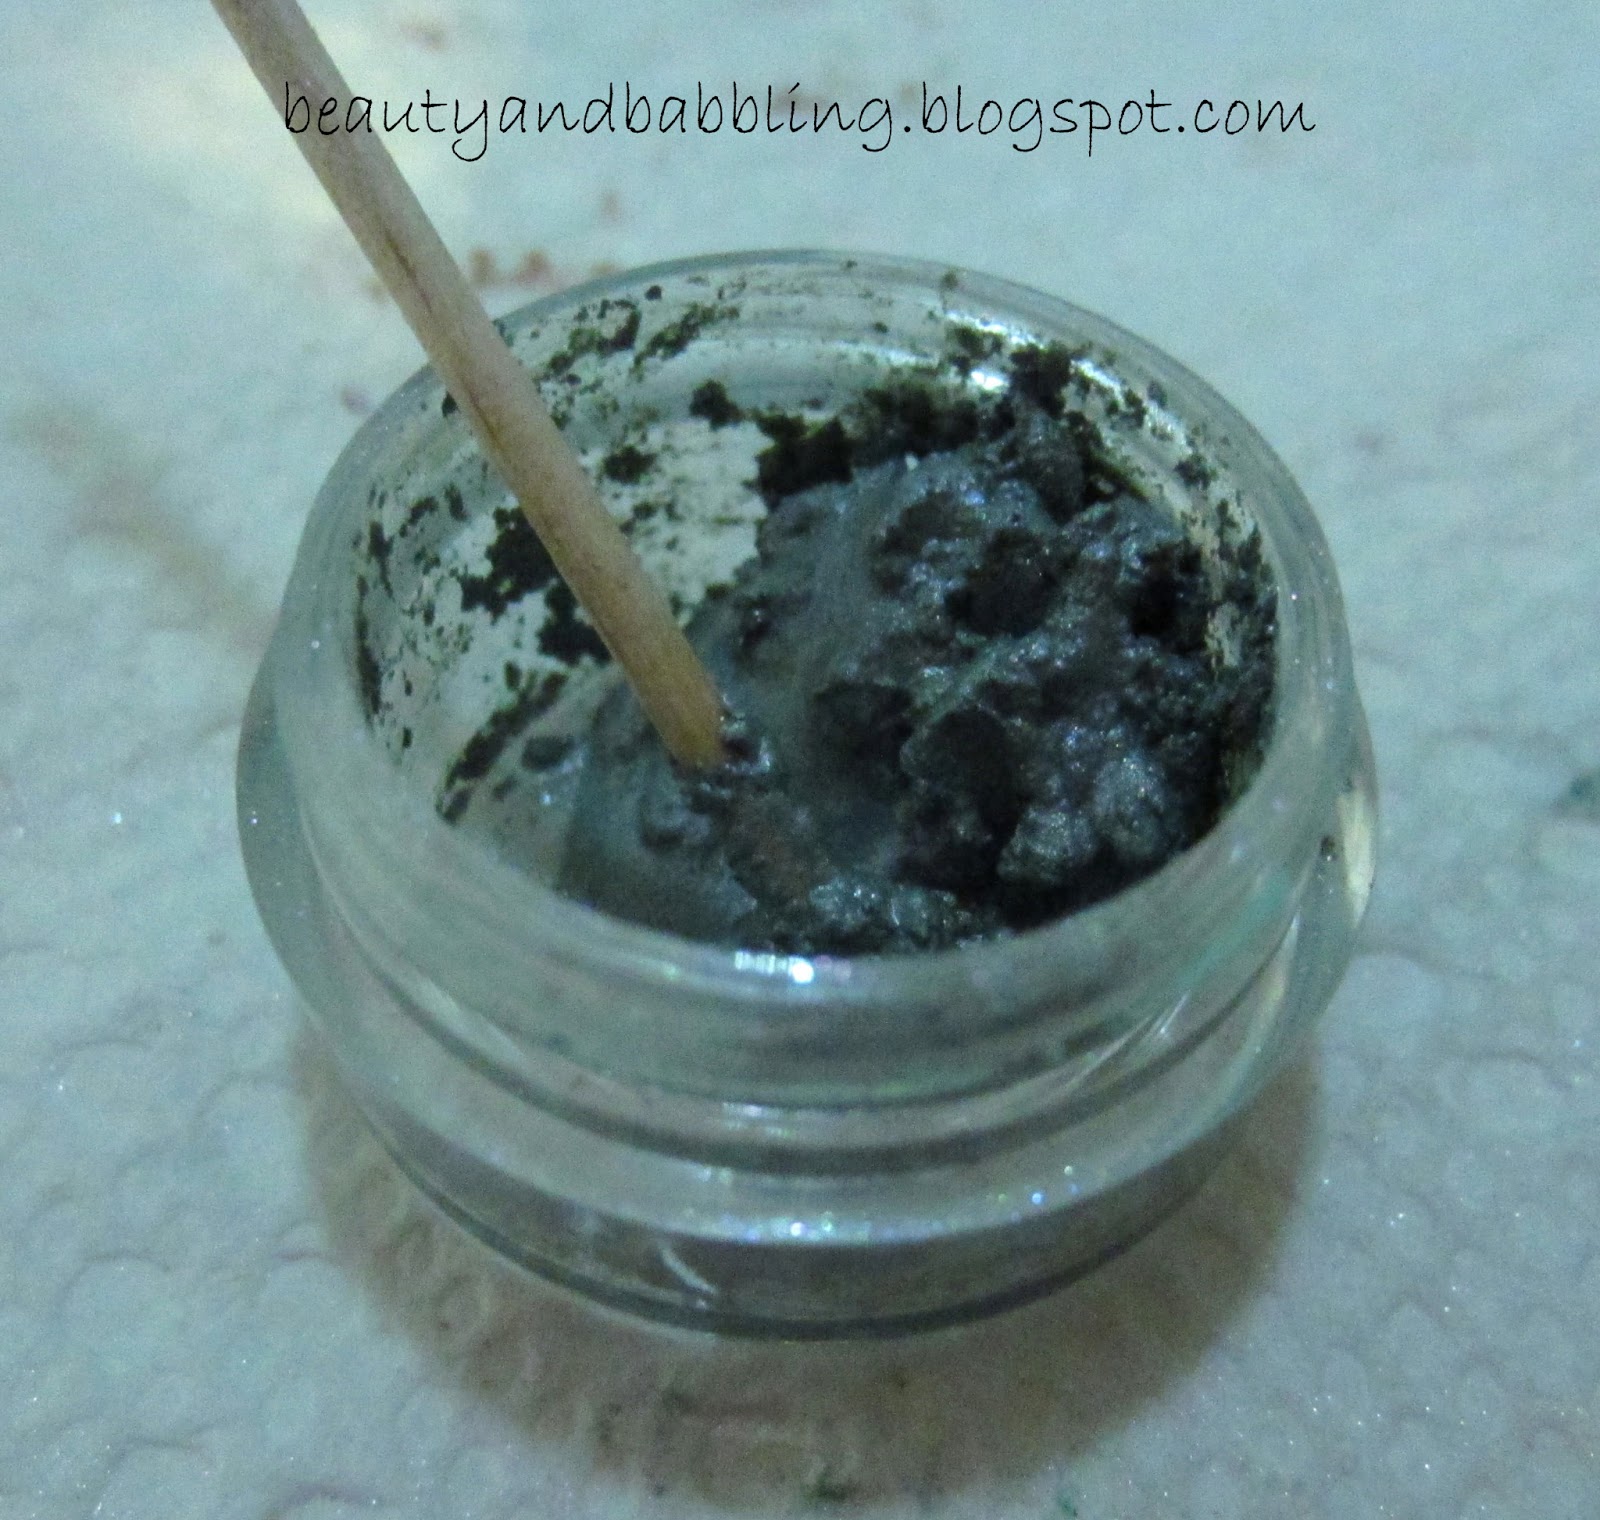
Shadow with MyMix and rubbing alcohol
I usually give the shadow and MyMix a quick stir with a toothpick before I add the rubbing alcohol. I aim to add enough alcohol to the shadow to make it clump together and make it easier to pour into the shadow pan. I just add a little at a time and stir until I get the consistency I want. Thankfully, since the alcohol evaporates, even if you over-do it, it isn't going to actually hurt the shadow. You'll just have a harder time getting it out of the jar (you'll have to scrape more) and will have to press out more liquid.

Shadow in the pan before pressing

Pour the wet shadow into your pan and spread it out to fill the bottom. TKBTrading suggests pressing in 3 layers, but I don't normally bother with that. I haven't had any issues with not doing layers, but experiment and do what works for you.

Tamping tool over plastic wrap, paper towel, and shadow pan
Now it's actually time to press. Here I have a layer of paper towel and a layer of plastic wrap between the pan and the tamping tool. I don't think you actually need the saran wrap. I used it because TKBTrading's instructions said to wrap the tamping tool with saran wrap, but I realized that they also don't use the paper towel, so the tamping tool would come in direct contact with the shadow.

The paper towel is there to absorb some of the alcohol as you press. I usually move the paper towel and use the paper towel 2-3 times for each pan to get out as much alcohol as possible and get the shadow pressed down as much as I can.

Labeled shadow
 At this point, your shadow is pretty much done. It might need to dry a little bit longer, but since most of the alcohol is pressed out, it doesn't take long. I make sure to label all of my shadows because I want to know what they are later.

Finished shadow in a palette
That's it! Your newly pressed shadow is done and in its new home. Since I use tin pans, they automatically stick into magnetized palettes like this one.

Palette full of self-pressed shadows

Just for a quick recap/reminder, aside from accidentally dumping your shadow, the only way I know of to really screw up this process beyond repair is to add too much MyMix (or whatever mixing medium you choose). Use less to start. You can always break the shadow apart, add more, and repress it if you need to.

Let me know if you try pressing your own shadows! It's a relatively easy and fun process. I love how much space it saves me and how it's a lot easier to see what shadows I have.

 Disclaimer: There is nothing to report.

Monday, May 27, 2013

Pressing Mineral Eye Shadows - Part I

Disclaimer: This post is not being sponsored by anyone. I purchased all of the materials used myself. I will be including links where you can purchase items, but they are not affiliate links. 

Hi ladies!

If you haven't noticed, I'm having a giveaway right now that you can check out here! I have to say that I'm thrilled with the turnout I've had so far. I hope all of my new followers stick around even after the giveaway is over.

I went on a pressing spree over the weekend and took some pictures to share with you. I love mineral eye shadows. The colors can be so unique, and if you shop indie, the prices are phenomenal. However, having tons of little individual jars takes up a lot of room. That's where pressing has been a great space saver for me.

If you want to try pressing your eye shadows, here's what you'll need:

  1. Paper towels (and lots of them)
  2. Toothpicks (or some other small stirring tool)
  3. Pressing medium
  4. Rubbing alcohol (the higher percentage of alcohol the better)
  5. Loose mineral shadows
  6. Pans to press the shadow into
  7. Tamping tool and pressing tiles (not necessary, but they make things a lot easier)
  8. Labels for the bottom of pans (also optional)
  9. Someplace to put your pressed shadows (you can see a few different options here)


I ordered the special pressing items that I needed (like the pressing medium and pans) from TKBTrading because their prices seem to be the best. I got the 2 oz bottle of the MyMix Press-It Binder, which is huge. Unless you have a ton of shadows to press, stick with the 1/2 oz bottle. I think I was able to press around 100 shadows with the 1/2 oz size. Another benefit of the smaller size is that it comes in a dropper bottle. I had to decant my MyMix into a smaller bottle that I had on hand (the second bottle from the left - it looks yellow because there is a old label on the back). The third picture is another dropper bottle that I decanted my rubbing alcohol into. I like the dropper bottles because they make it a lot easier to control the amount of liquid coming out.

Left to right: 15mm pans, 36mm pans, 52mm square pans

This is a look at the pan sizes that I have. For reference, I purchased the 15 mm size for my stash of Silk Naturals gift with purchase shades that come in 3g jars. Darling Girl petite sizes also fit in this pan size. The 36mm size is what I would consider the standard size. They are the size of Mac shadows. I use these for pressing 5g jars of shadow, which is the standard size for full size mineral eye shadows. The 52mm square pans were purchased to press some Everyday Minerals blushes that come in 20g jars. They are huge and aren't necessary for most projects.

Note: Nearly all of the pans that TKB sells are tin (there's one set that has aluminum pans), which means that they will stick to a palette with a magnetic base (like a Z Palette); aluminum pans will not. Tin pans are also sturdier than aluminum. If you order from someplace else, you might want to pay attention to the material of the pans. The benefit of aluminum pans is that they don't rust, and tin pans can if you aren't careful.

Pictured directly above the pans are the pressing tiles. The pressing tiles are pieces of acrylic that are cut to fit perfectly inside the pans. The ones in the picture above still have the brown paper covering they come with. TKB recommends removing the paper before you begin pressing, but I find it hard to get off, and I don't think it affects the process, so it stays on until it decides to peel off on its own. For the larger pan sizes, I didn't feel the need to use the pressing tiles. The tamping tool works well on its own. For the 15mm pans, using the pressing tile and just my finger for pressure felt the most stable for the initial pressing.

The tamping tools are at the top of the picture. They are essentially a pressing tile glued to a handle. As I just mentioned above, for the larger pans, I just used the tamping tools to do my pressing. Basically, use whichever method you feel more comfortable with.

TKB sells "press packs" that include a tamping tool, two pressing tiles, and 9 tin pans in a variety of sizes all for around $3-$4 dollars. I'm going to link you to their page that includes all of their pressing supplies here. If you scroll down, the press packs are some of the last items listed.

I'm also going to draw your attention to their Press Your Own Makeup: Beginner Kit. This is what I originally purchased when I wanted to see if I liked pressing my mineral shadows. It costs $14.95 (shipping for just this kit is $3.50) and comes with:
  • Two 4-well magnetic palette made of eco-friendly cardboard yet with good, durable finish (pick from nine colors!)
  • Eight 26mm round tins which fit inside the palettes
  • One Tamper Tool and one press tile for pressing your powders
  • 1/2 fl oz TKB PressIt Binder with preservative added
  • Pressing Ribbon
  • 8 zip lock baggies
  • TKB MyMix Press Base (this is intended for if you are making your own shadows, not just pressing them)
  • 2 scoops and 1 spatula
  • Pair of latex gloves
It gives you everything you need to try out pressing without being a huge commitment.Once you decide whether pressing will work for you, you can buy in larger amounts.

Stay tuned for Part II where I'll walk you through the steps for pressing.

Have you pressed any of your mineral eye shadows or blushes?

Disclaimer: This post is not being sponsored by anyone. I purchased all of the materials used myself. I have included links where you can purchase items, but they are not affiliate links.