I'm finally back with Part II to actually show you how to press your mineral eye shadows. If you missed Part I, you can find it here. Also please don't forget to enter my giveaway!
My information is a combination of information I've picked up on the internet. One of my favorite videos on how to press was made my a friend of mine from Mineral Makeup Forum (it's a private board, so you have to register to view the whole thing). Her name is Oxana, and you can find her video about pressing shadows here (she also has a blog that you can find here). I also made sure to read TKBTrading's information about pressing shadows that came with their starter kit.
Let's get started pressing!
The first thing to do is gather all of your materials and get your pressing station set up. This can be a messy and time-consuming process, so plan accordingly. I like to cover my work area with paper towels because it makes cleanup that much easier when I'm done.
The first thing I do is lay out several pans and spray them down with alcohol to sanitize them before I start, and I let them dry (it doesn't take long).
Side note: Please excuse the picture quality. Since I wasn't using my normal setup, the colors are really off. I didn't feel the need to try and retake them since I'm not trying to show the colors, just the process.

After the pans I dry, I take one and place a drop of MyMix on the bottom of the pan and spread it around with a cotton swab. I believe this step is done to help the shadow stick to the bottom of the pan.
 |
| MyMix in shadow - about 4 drops |
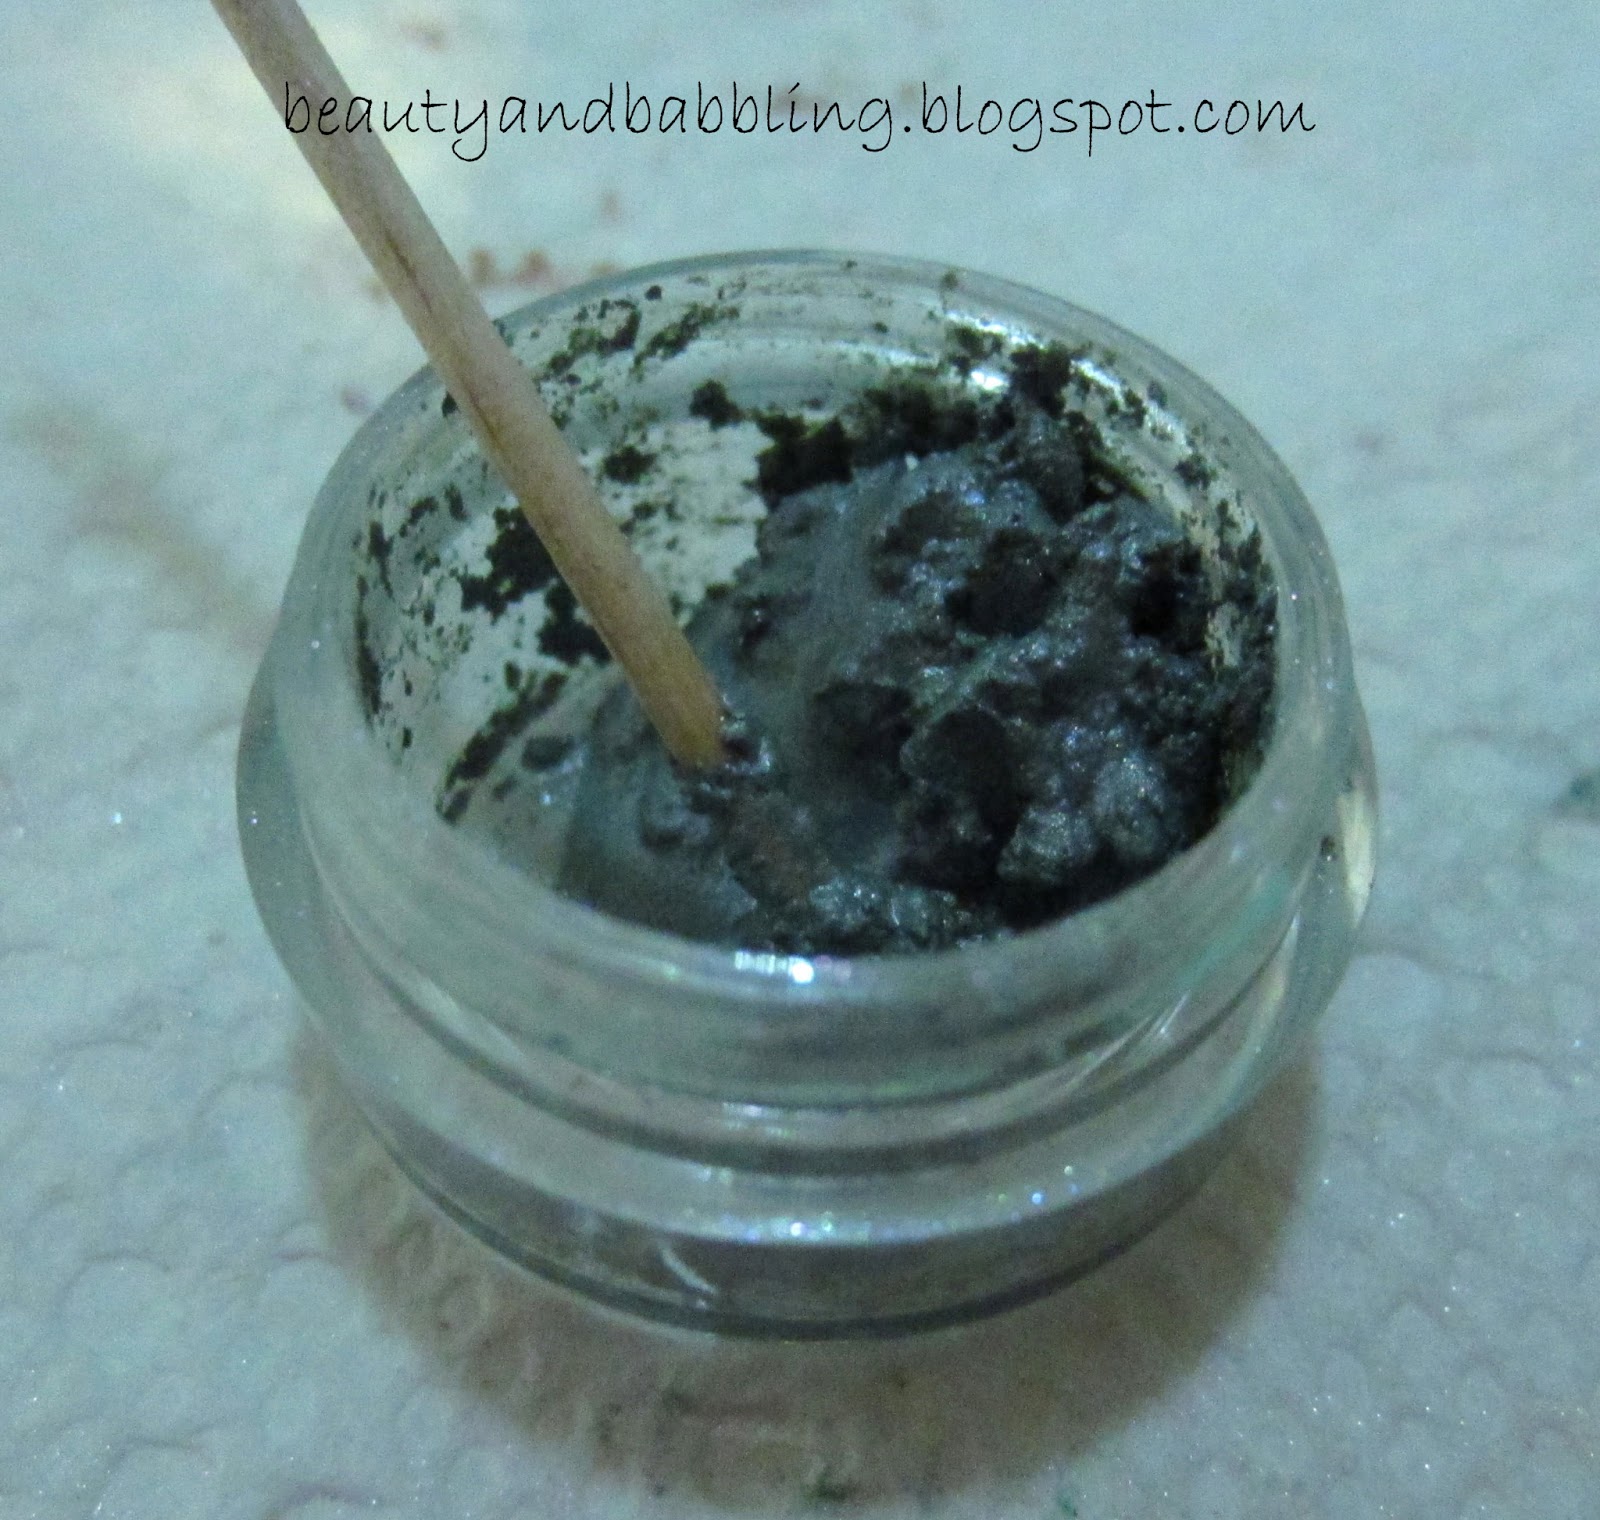 |
| Shadow with MyMix and rubbing alcohol |
 |
| Shadow in the pan before pressing |
Pour the wet shadow into your pan and spread it out to fill the bottom. TKBTrading suggests pressing in 3 layers, but I don't normally bother with that. I haven't had any issues with not doing layers, but experiment and do what works for you.
 |
| Tamping tool over plastic wrap, paper towel, and shadow pan |
The paper towel is there to absorb some of the alcohol as you press. I usually move the paper towel and use the paper towel 2-3 times for each pan to get out as much alcohol as possible and get the shadow pressed down as much as I can.
 |
| Labeled shadow |
 |
| Finished shadow in a palette |
 |
| Palette full of self-pressed shadows |
Just for a quick recap/reminder, aside from accidentally dumping your shadow, the only way I know of to really screw up this process beyond repair is to add too much MyMix (or whatever mixing medium you choose). Use less to start. You can always break the shadow apart, add more, and repress it if you need to.
Let me know if you try pressing your own shadows! It's a relatively easy and fun process. I love how much space it saves me and how it's a lot easier to see what shadows I have.
Disclaimer: There is nothing to report.
Great tutorial.
ReplyDeleteThanks!
DeleteWhat an awesome informative post! I have tons of mineral shadows and I always think how I would use them more if they were pressed and traveled easier! I'm definitely going to try this out!
ReplyDeletexx Jess
Please let me know how it goes for you!
DeleteSuch a cool post! It's like being in the science lab!
ReplyDeleteThank you! It does sort of seem like a science lab.
DeleteAwesome post! Very helpful!
ReplyDeleteThank you!
DeleteAwesome tutorial, this is great! o__o <3
ReplyDeleteFollow me on Twitter?
Twitter.com/leejjune
Will this work for pressing Bare Minerals foundation or mineral veil also? I'm very interested to know this since I have the loose stuff and don't want to buy the new pressed version as it has talc in it (and I have an allergy to it).
ReplyDeleteSorry for the delay in responding. I haven't attempted to press mineral foundations or loose setting powders, so I have no idea if that would work or not.
Delete