Showing posts with label DIY. Show all posts

Thursday, May 30, 2013

Pressing Mineral Eye Shadows - Part II

Disclaimer: There is nothing to report.

I'm finally back with Part II to actually show you how to press your mineral eye shadows. If you missed Part I, you can find it here. Also please don't forget to enter my giveaway!

My information is a combination of information I've picked up on the internet. One of my favorite videos on how to press was made my a friend of mine from Mineral Makeup Forum (it's a private board, so you have to register to view the whole thing). Her name is Oxana, and you can find her video about pressing shadows here (she also has a blog that you can find here). I also made sure to read TKBTrading's information about pressing shadows that came with their starter kit.

Let's get started pressing!

The first thing to do is gather all of your materials and get your pressing station set up. This can be a messy and time-consuming process, so plan accordingly. I like to cover my work area with paper towels because it makes cleanup that much easier when I'm done.

The first thing I do is lay out several pans and spray them down with alcohol to sanitize them before I start, and I let them dry (it doesn't take long).

Side note: Please excuse the picture quality. Since I wasn't using my normal setup, the colors are really off. I didn't feel the need to try and retake them since I'm not trying to show the colors, just the process.


 After the pans I dry, I take one and place a drop of MyMix on the bottom of the pan and spread it around with a cotton swab. I believe this step is done to help the shadow stick to the bottom of the pan.

MyMix in shadow - about 4 drops
The next step is to open up your mineral shadow and add the MyMix (or your choice of mixing medium). I typically use about 4 drops for a 5g jar of shadow. That being said, this is the trickiest part of the process. If you use too much MyMix, your eye shadow will be too hard and won't have any color payoff, and there is also no way to remove MyMix once it is in the shadow. When in doubt, use less. If your shadow ends up too powdery, you can always remix it with more MyMix and repress it. It is also important to note that matte shadows require a lot less MyMix.

Shadow with MyMix and rubbing alcohol
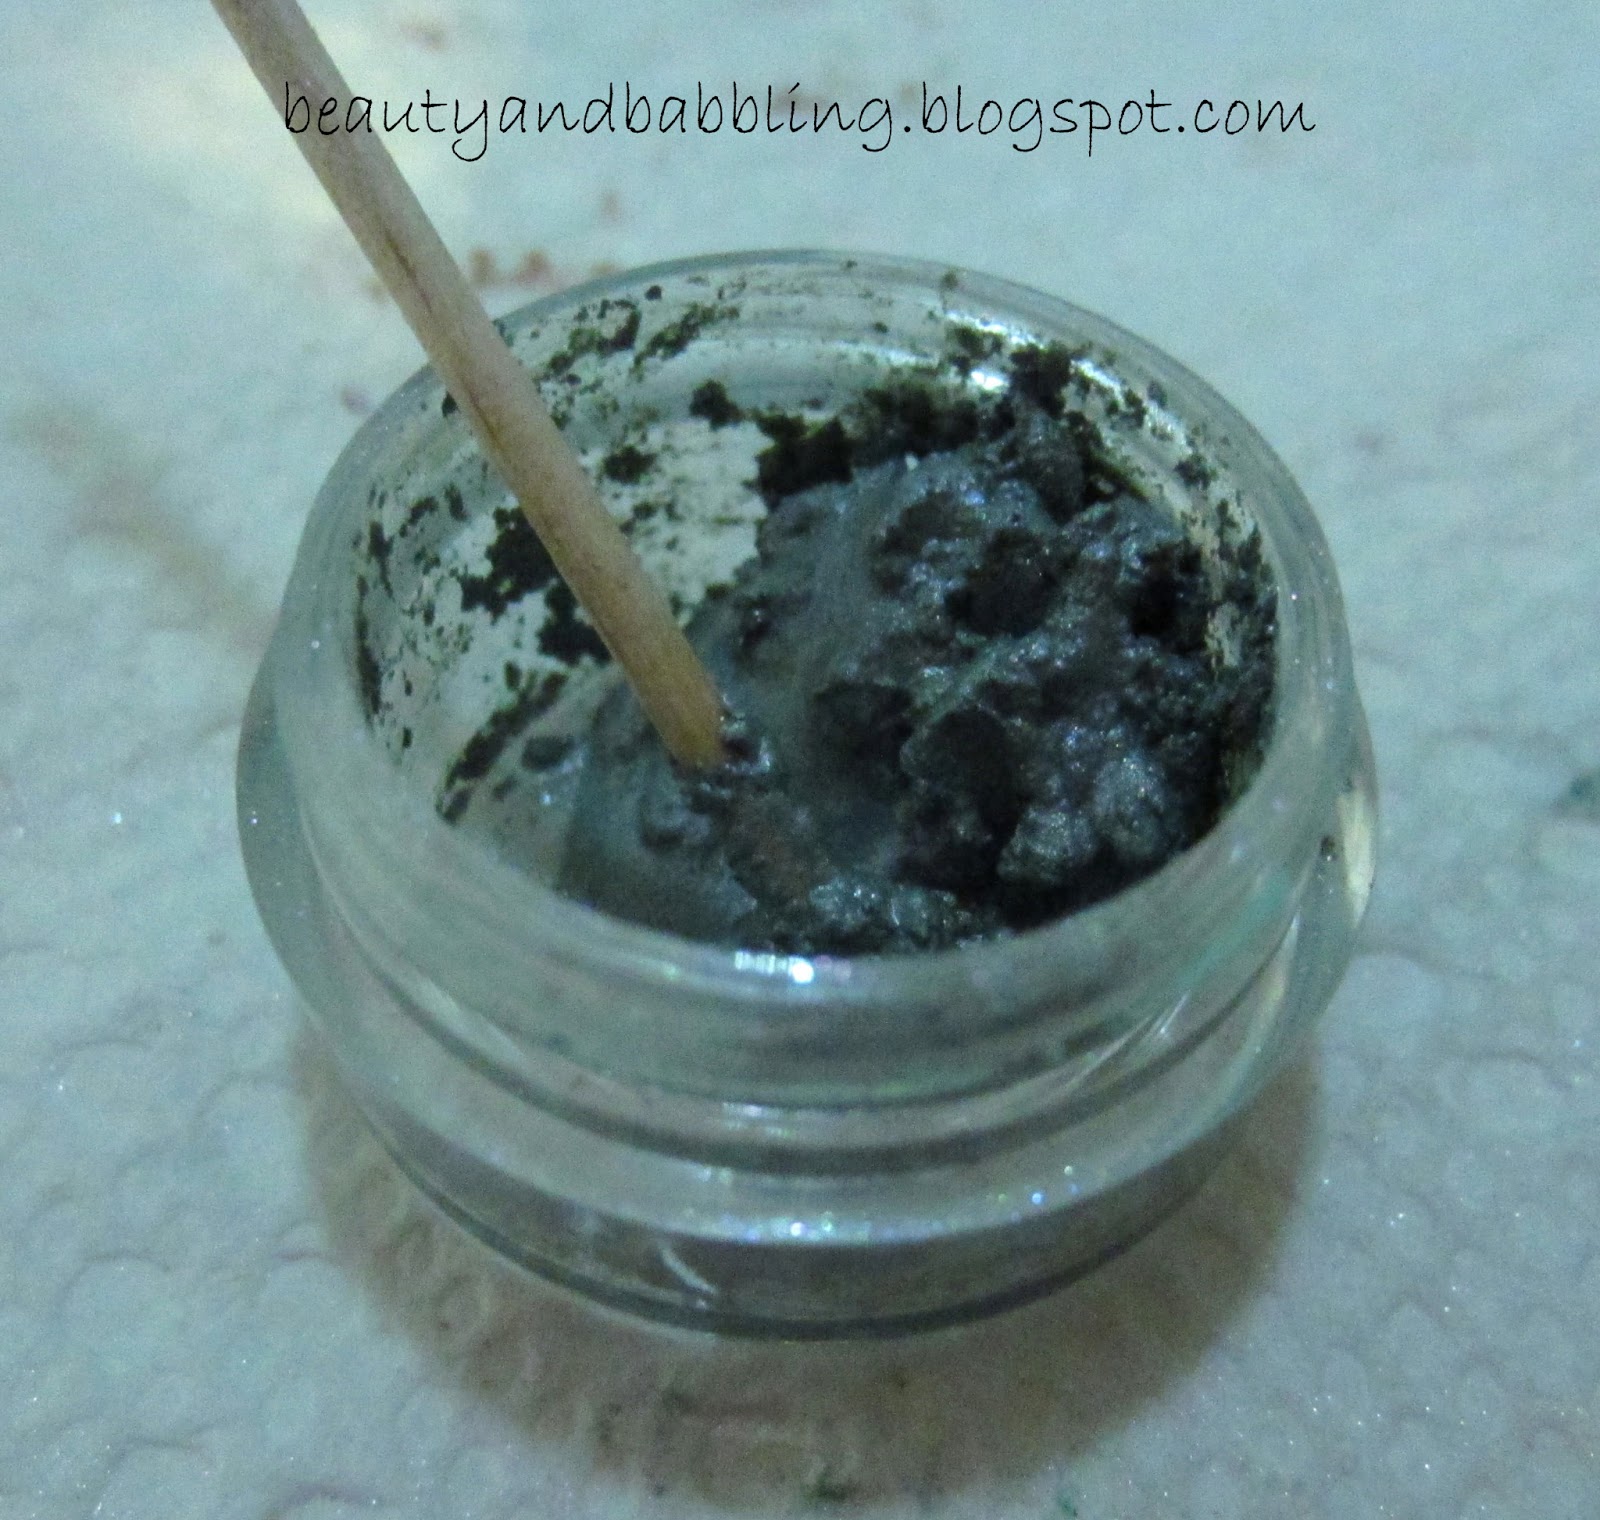
I usually give the shadow and MyMix a quick stir with a toothpick before I add the rubbing alcohol. I aim to add enough alcohol to the shadow to make it clump together and make it easier to pour into the shadow pan. I just add a little at a time and stir until I get the consistency I want. Thankfully, since the alcohol evaporates, even if you over-do it, it isn't going to actually hurt the shadow. You'll just have a harder time getting it out of the jar (you'll have to scrape more) and will have to press out more liquid.

Shadow in the pan before pressing

Pour the wet shadow into your pan and spread it out to fill the bottom. TKBTrading suggests pressing in 3 layers, but I don't normally bother with that. I haven't had any issues with not doing layers, but experiment and do what works for you.

Tamping tool over plastic wrap, paper towel, and shadow pan
Now it's actually time to press. Here I have a layer of paper towel and a layer of plastic wrap between the pan and the tamping tool. I don't think you actually need the saran wrap. I used it because TKBTrading's instructions said to wrap the tamping tool with saran wrap, but I realized that they also don't use the paper towel, so the tamping tool would come in direct contact with the shadow.

The paper towel is there to absorb some of the alcohol as you press. I usually move the paper towel and use the paper towel 2-3 times for each pan to get out as much alcohol as possible and get the shadow pressed down as much as I can.

Labeled shadow
 At this point, your shadow is pretty much done. It might need to dry a little bit longer, but since most of the alcohol is pressed out, it doesn't take long. I make sure to label all of my shadows because I want to know what they are later.

Finished shadow in a palette
That's it! Your newly pressed shadow is done and in its new home. Since I use tin pans, they automatically stick into magnetized palettes like this one.

Palette full of self-pressed shadows

Just for a quick recap/reminder, aside from accidentally dumping your shadow, the only way I know of to really screw up this process beyond repair is to add too much MyMix (or whatever mixing medium you choose). Use less to start. You can always break the shadow apart, add more, and repress it if you need to.

Let me know if you try pressing your own shadows! It's a relatively easy and fun process. I love how much space it saves me and how it's a lot easier to see what shadows I have.

 Disclaimer: There is nothing to report.

Tuesday, February 5, 2013

Battle of the Freestyle Palettes

In the process of pressing loose mineral eye shadows and depotting larger palettes of shadows, I've picked up a variety of freestyle palettes to accommodate them all. I thought it would be a good idea to take a look at all of the options.

Homemade Palette - Approximately $5 to make


I did a post about how I made this palette here. The best feature about these is that they are inexpensive to make. This particular tin can hold 23 shadows (26mm pans). If you've got a lot of shadows that you are trying to store, these might not be big enough. You'd have to have quite a few to store a large collection. Another downside is that the lid isn't attached. It didn't seem like a big deal to me until I went to grab a stack of them and didn't get a solid hold on the bottom palette. The palette when flying, and I had some damage to a few shadows (thankfully none got completely destroyed).

Pros
  • Inexpensive
  • Holds a decent number of shadows, depending on size
  • Easy to make
Cons
  • Lid isn't attached, which means it isn't good for traveling
  • Might be hard to locate tins
  • Not ideal for a larger collection

Stars Makeup Haven Large Freestyle Magnetic Palette - $19 per palette with $7.95 shipping minimum)


This is just a plain black plastic palette that I ordered from Stars Makeup Haven. It's sturdy, but it's too large and flimsy for me to feel comfortable traveling with it. The biggest pro of this palette is that it holds a ton of shadows. I can fit 45 standard-sized pans in it.

Stars Makeup Haven also has a small freestyle palette that sells for $14. I don't know how many shadows it holds since I don't personally own it. 

Pros
  •  Holds 45 standard shadows, which is great for larger collections
  • Sleek black design
Cons
  •   Cost - it seems really pricey, especially with shipping added in. I held out for a sale, which doesn't happen often
  • The case shows smudges easily
  • Not ideal for traveling because of the size and the construction isn't extremely sturdy (although good for everyday, at-home use)


Z Palette - $20 for a large palette; $14 for a small palette; Free shipping on orders over $60


 I picked up some Z Palettes at the tail end of December when they had a few different palettes on sale. These palettes are cardboard with clear plastic for the lid, but they are really sturdy. Magnets hold the lid closed. The large palette can hold 28 standard-sized shadows, and the small palette can hold 9 standard-sized shadows.

I love that this palette had a clear lid so I can see what shadows are in them. Another great feature about these palettes is that they come with metal stickers that you can put on non-metal pans to make them stick to the palette.

Pros
  • Variety of colors and styles
  • Has a clear lid, which makes it easier to locate specific colors
  • Sturdy construction
  • Comes with metal stickers to put on non-metal pans
Cons
  • Expensive - the large size holds 17 less shadows for approximately the same cost as the Stars Makeup Haven palette (I wish they made an even larger palette)

Unii Palette - $29 for a palette, free shipping after you buy 2, and buy 4, get the 5th one free


 I bought this Unii Palette on a deal site over the summer and was able to get is for somewhere around $10 (I'm not listing the deal site because I read awful reviews on it after I made this order and don't trust promoting it). I would never have bought it at full price. It only holds 13 standard-sized shadows. The place where this palette really shines is in how sturdy this palette is. It is super solid plastic with a rubber seal around the edges. I took the second picture to show the latch. This is a super solid latch. I could throw this loosely into a bag without any concern about it popping open.

Pros
  • Super sturdy - clearly designed for travel
  • A variety of colors
  • Finger grip
Cons
  • Only holds 13 standard shadows
  • Expensive, especially for how small the palette is
Final Thoughts

I think each of these palettes has their uses. My favorite overall is the Z Palette, followed by the Stars Makeup Haven one. I would only buy the Unii Palette if you are able to find a good deal on it. I don't think it is worth the full list price. The homemade palette is great if you just want to depot one or two bulky palettes, but aren't ideal for anything more than that.

Do you have any freestyle palettes? Which one do you think would work best for your needs?

Saturday, December 29, 2012

DIY Freestyle Palettes

I was doing some last-minute Christmas shopping at WalMart, and I happened to see a display of gift card tins. I have been on the lookout for tins that would make good freestyle palettes, and these were definitely it! I was happy to find one that didn't have a Santa or snowman plastered all over it too. The colors are still a bit Christmas themed, but it doesn't scream Christmas to me.

Here's what you would need:


  • The gift card tin (Original price: $3.50; Clearance price: $1.75)
  • Magnetic sheets (This was a 2-pack for just under $2)
  • Ruler
  • Pencil
  • Scissors

There are two different ways you could set your palette up. The first way is to leave the tin as it is and place magnets on the back of any pans you want to put in your palette. I actually ended up doing this with a depotted Tarte palette (no pictures of that yet) because the Tarte pans were aluminum and wouldn't stick to a magnet.

The other way is to cover the bottom of the tin with the magnetic sheet like this:


I haven't come up with a perfect method for getting the magnetic sheet to fit exactly, but my favorite method right now is to measure the interior of the palette, mark out the outline on the magnetic sheet, and cut it out. Because of the rounded corners, I had to cut off the corners before inserting the sheet into the tin. Thankfully, the sheet is quite thin and flexible, so a minor excess due to poor measurements or not getting the sheet completely centered easily roll up the sides, so it still fits well.


Here's a look at my tin with a few eye shadows added. My particular tins are around 4 1/2 x 6 inches, and I can squeeze in 23 shadows in 26mm pans. If you are curious, the shadows shown were loose mineral shadows that I pressed myself.


Here's a couple of shots to show you a size comparison. I have Urban Decay's Book of Shadows IV, and it's HUGE and the drawer is a pain to pull out because it sticks. I could depot all of the shadows from it and fit them into one of these little tins. You can see in the bottom picture that the tin is much thinner than the BOS too (it's actually about the same height as the Naked palettes).

Now I just need to convince myself to depot the BOS IV from it's special packaging. As much as it annoys me, I'm still hesitant. Convince me, please!

With these new freestyle palettes (I do already have a couple from StarsMakeupHaven), I've put a Z Palette (or 2, or 3....) on my wishlist. I like these little ones, but I would like more larger ones that make it easier to see a lot of shadows at once.

Do you have any freestyle palettes? Do you depot your shadows?